
Build a thread rack for yourself!!
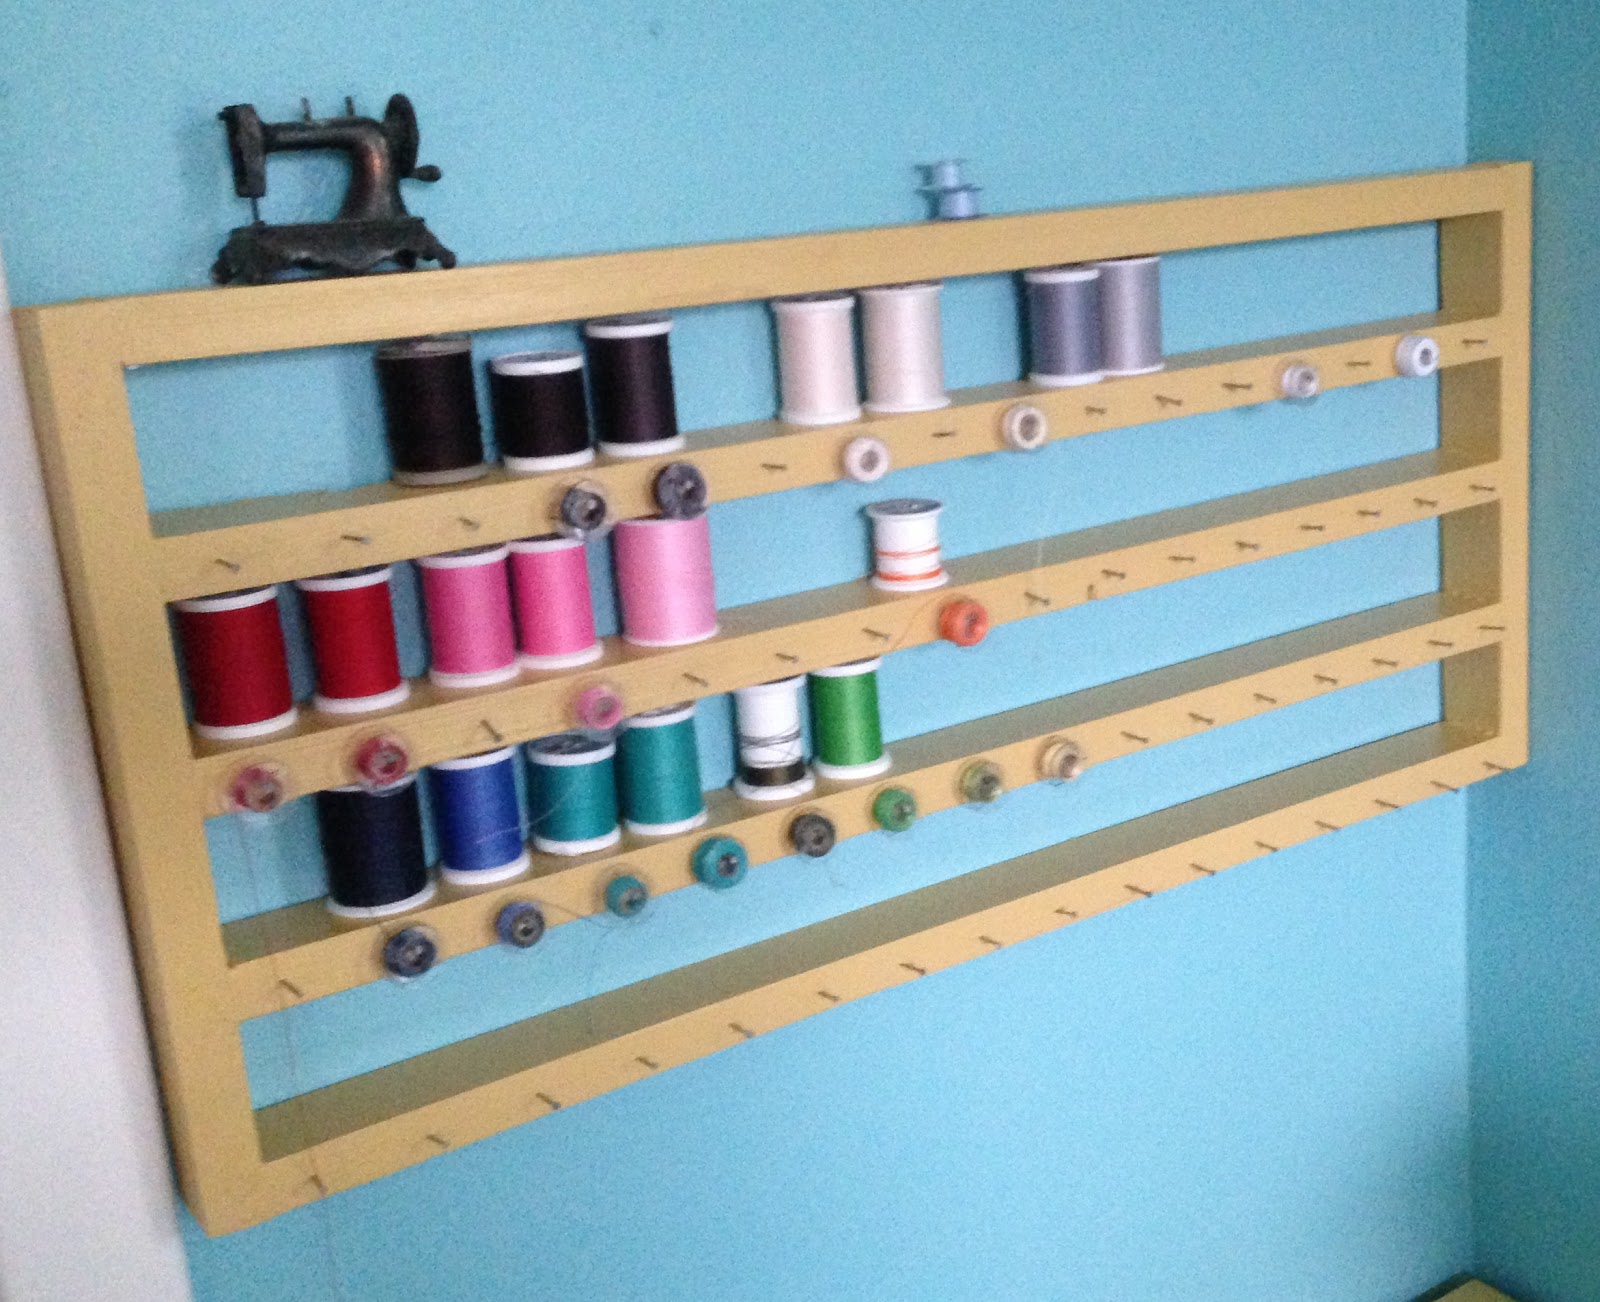
This project is pretty self explanatory but since I am building another one for my mom I thought I'd make up a quick building plan for you. Hope you enjoy! My finished rack is 11.5" by 25" and will hold approximately 64 spools of thread and coordinating spools depending on size and brand. You can easily adjust the size depending on your needs though. I wanted it to fit right there and knew I'd probably never have more than 64 spools anyways so it works.

You'll need to buy (2) 1x2x8 pick the straightest boards you can find! I usually buy furring strips but if you prefer you can buy better boards for a few bucks more. They tend to be smoother and straighter. You will also need wood glue, nail and & nail gun or screws and wire nails or other small nails for the bobbins. You will also need picture frame hangars or your favorite method of hanging should be fine too.
(5) 23.5" long - for shelves
My "shelves" have about 2" in between them.
If you don't plan to cut them down yourself have the guys at your favorite store cut them down to the following sizes. We are Home Depot fans all the way but Lowe's will cut wood for you too! Both may charge a quarter or so a cut after a few freebies but I've found as long as it's not a million they rarely charge. You will want to be sure your boards are EXACTLY the same length or your rack won't fit nicely. If you have ends like this hit them with your sander, it also won't hurt to run it along your boards to smoothen it up a bit.

Lay your rack out and pray that they are all exact otherwise you will have gaps and possibly worse.
A little wood glue and nails to hold it all together!

Almost done!
If you are going to paint it now is the time to do so. I used wood filler for the nail holes and cracks, sanded and painted. If you don't want to paint it you can add trim like the original poster or just leave it as is. I am not usually a fan of spray paint but this project is one that spray paint is definitely a little easier than getting your paintbrush in all the corners evenly. I've hand painted one and spray painted one. Both look great but spray was easier :)
Decide how you are going to hang your rack. I chose traditional picture hangers and added one to each side after paint is dry.

Now you'll nail your bobbin nails approximately every 1.5" inches. Remember to leave them out long enough for your bobbin to fit on!!

Hang her up and add your pretty rainbow of thread!
Happy Building!
